How to make espresso drinks with the Breville Barista Touch Impress
I love making espresso, especially in the fall and winter. The second the chill hits the air and leaves are on the ground I pull out my inventory of coffee syrup and get to work making lattes. I’ve always used a manual Breville espresso machine, but this fall I’ve been able to test out the Breville Barista Touch Impress espresso machine. I’ve been using it steadily for over a month and I’ve come up with a few tips for making the best espresso in this machine.
Learn more about Breville in Best Buy stores: you might also consider taking a Breville espresso Masterclass. See the details here.

What is an automatic espresso machine?
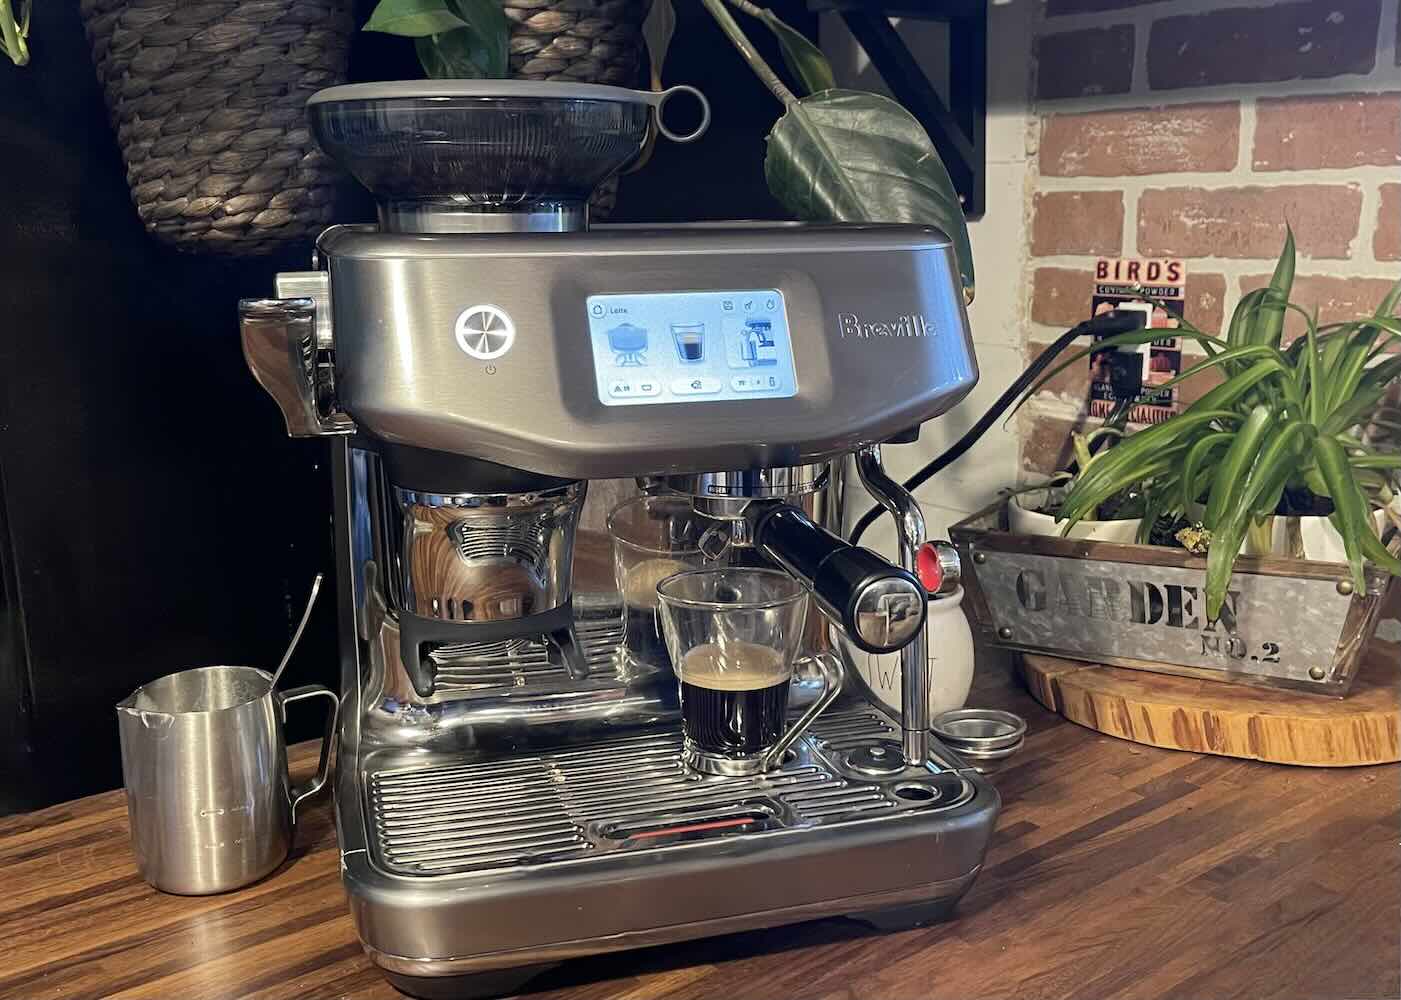
To understand how the Breville Barista Touch Impress works, it’s a good idea to brush up on the differences between espresso machines. There are four main types—manual, semi-automatic, automatic, and super-automatic. You can read about the different types in the espresso machine buying guide. The Breville Barista Touch Impress is a super-automatic espresso machine so it automates water pressure, extraction time, grinding, and dosing. The only thing you’ll need to do manually is tamp your dose.
The Breville Barista Touch Impress is a great choice for anyone who wants a user-friendly espresso machine. It has a touchscreen you can use to select your beverage and it will walk you through every step of the process. While it’s an easy-to-use machine, it’s also completely customizable and it can grow with you. You can adjust your grind type, get the water extra hot, or achieve the perfect layer of milk froth. With this machine, you’ll find that coffee becomes a hobby, and Breville is even offering coffee masterclasses in some Best Buy stores. Take a look at the link if you’re interested in growing your coffee skills.
Tips for creating the best espresso in the Breville Barista Touch Impress
Making espresso with a machine like the Breville Barista Touch Impress can be really easy, but that doesn’t mean you can’t completely customize your espresso creation or tweak your settings as you figure out your personal preferences. I discovered there are a few ways the machine can be adjusted to suit you.
1. There are different ways to customize your grind
The Breville Barista Touch Impress has a built-in coffee bean grinder that will dose the beans right into the portafilter. There are three baskets for single and double shots and the machine will automatically detect which basket is in the portafilter.
If you’ve made your own espresso before, you know that the grind of your espresso beans can matter just as much as how long you pour your shot. There are different grind types on this machine and they range from fine to coarse. The grind types are numbered from 0 to 30. You can set the grind type by turning the dial on the left of the machine. You’ll see the grind move from fine to coarse on the display. You can also drag your finger along the touchscreen to adjust the grind type.
Calibration of the grinder
Once you set your grind preference you’ll be prompted to calibrate the grinder. To calibrate it you’ll need to grind beans into the portafilter and tamp them down a few times.
If you want your beans ground to your preference, calibration is a step you should not skip. Once you calibrate the grinder it will stay calibrated until you significantly adjust your grind setting. For example, if you were trying out a fine grind at level 5 and you moved the grind type to level 25 so the grind will be coarse, you would need to recalibrate the grinder.
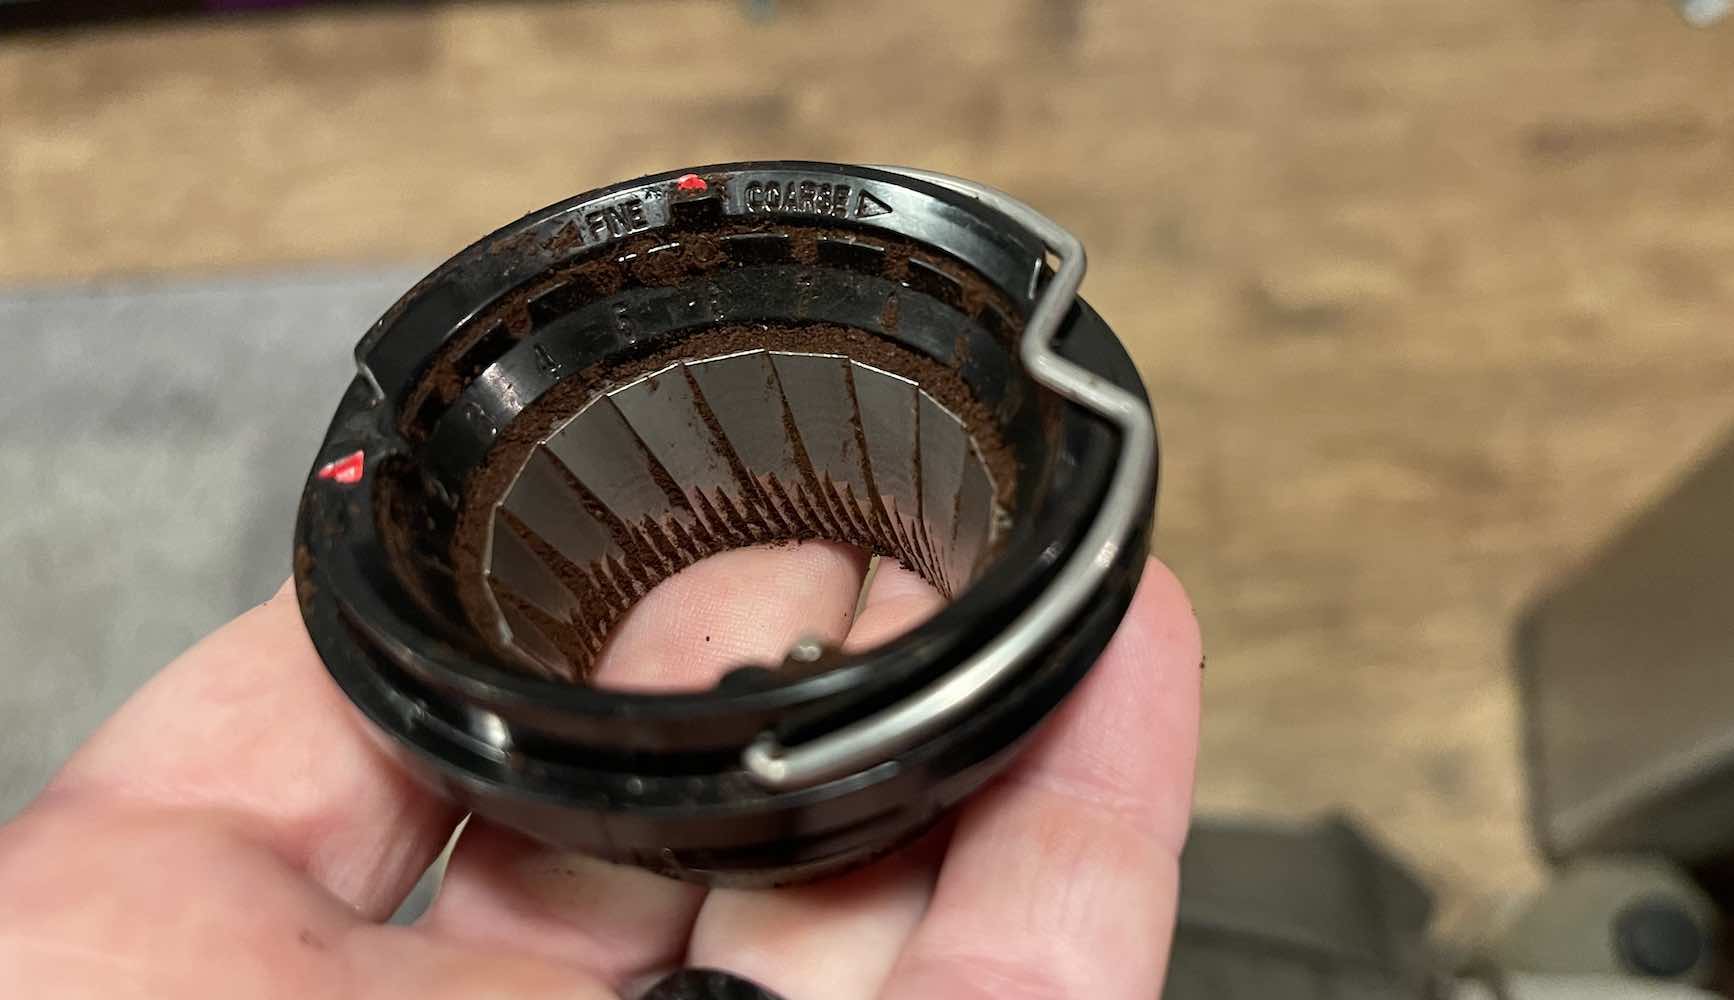
There is another way you can get your grinder to grind your beans a bit finer or coarser. When you remove the hopper and empty the espresso beans you’ll see an inner burr grinder. It has a small metal handle. You can remove the metal handle that locks it into one setting and turn the dial toward fine or coarse. Once you’ve adjusted the inner burr grinder you’ll put it back in the machine, lock on the hopper, and grind your beans. I would recalibrate the grinder again too.
I’m pretty even on my grind type and I tend to stay solidly in the middle around level 13 or 15. I found that turning the dial on the inner burr grinder didn’t make a huge difference for me, but I think it would if you were consistently grinding your beans at level 1 or level 30.
What you want to keep in mind is that the grind of your espresso beans is a personal preference. If you’re not sure how coarse or fine you want your beans you’ll want to start at a mid-point of 14 or 15, then dial it back by one or two every time you pull a shot. You’ll soon know what your favourite grind is, and you can save your beverage profile in the Breville Barista Touch Impress so you have your setting ready to go.
2. Dosing and tamping with the Breville Barista Touch Impress
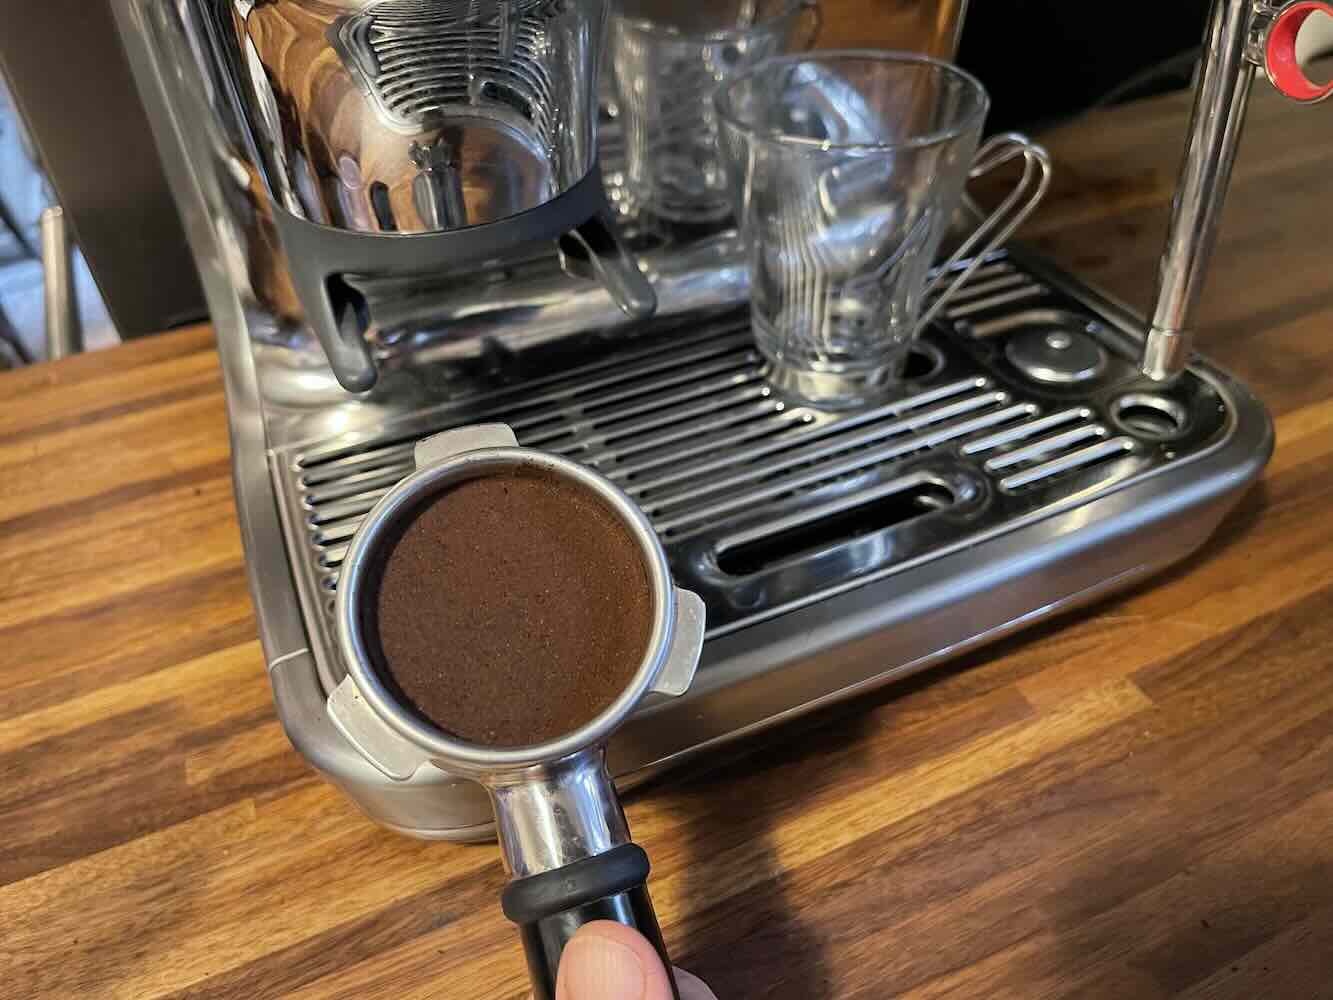
The Breville Barista Touch Impress will automatically dose the right amount of espresso for your shot. It will grind your beans and dispense them and when the touchscreen indicates it’s time to tamp you’ll pull the arm on the machine and tamp your dose. Tamping is one of the only manual things you’ll do with this machine, but keep in mind the machine may indicate it hasn’t dispensed enough grinds and prompt you to touch the screen to add more. I found that happened most often when dispensing a double shot.
Once the machine prompted me to tamp, I always tamped a bit more than the machine asked for. I compared the espresso shot when I tamped only as many times as the machine requested and when I tamped a few extra times and I thought the extra tamping helped. I think it improved the taste of the shot with a few extra pulls.
3. Adjusting the water temperature so it’s as hot as possible
You can use the Breville Barista Touch Impress right out of the box and you don’t have to do much more than just turn it on. The instructions on the touchscreen will walk you through the process of setting up your machine, but you can also adjust certain settings so your espresso is just like it would be at your local coffee shop.
Espresso beans can taste completely different when they are extracted at higher or lower temperatures, so your preference may have always been for an extra hot espresso. To achieve that at home with the Breville Barista Touch Impress you can look for the brew temperature in settings and turn it up to the maximum setting of Hotter 4. The machine has a range of temperatures from 90°F to 205°F (approximately 88°C to 96°C). I spent a bit of time testing out that feature and took a few temperature readings of the espresso shot after it was extracted.
First, I left it at the default temperature setting and used a temperature gun right after I pulled the shot. The readouts varied, but the average was approximately 114°F. When I adjusted the brew temperature to maximum I recorded much higher readings, with the average being 140°F immediately after the shot was extracted. If you still would like it to be a bit hotter, my best tip is to turn the machine on for a period of time before you make espresso. I always let my machine sit for half an hour before I use it. If you let the boiler heat up sufficiently your machine should be able to reach the maximum temps.
4. Customize the timing of your espresso extraction
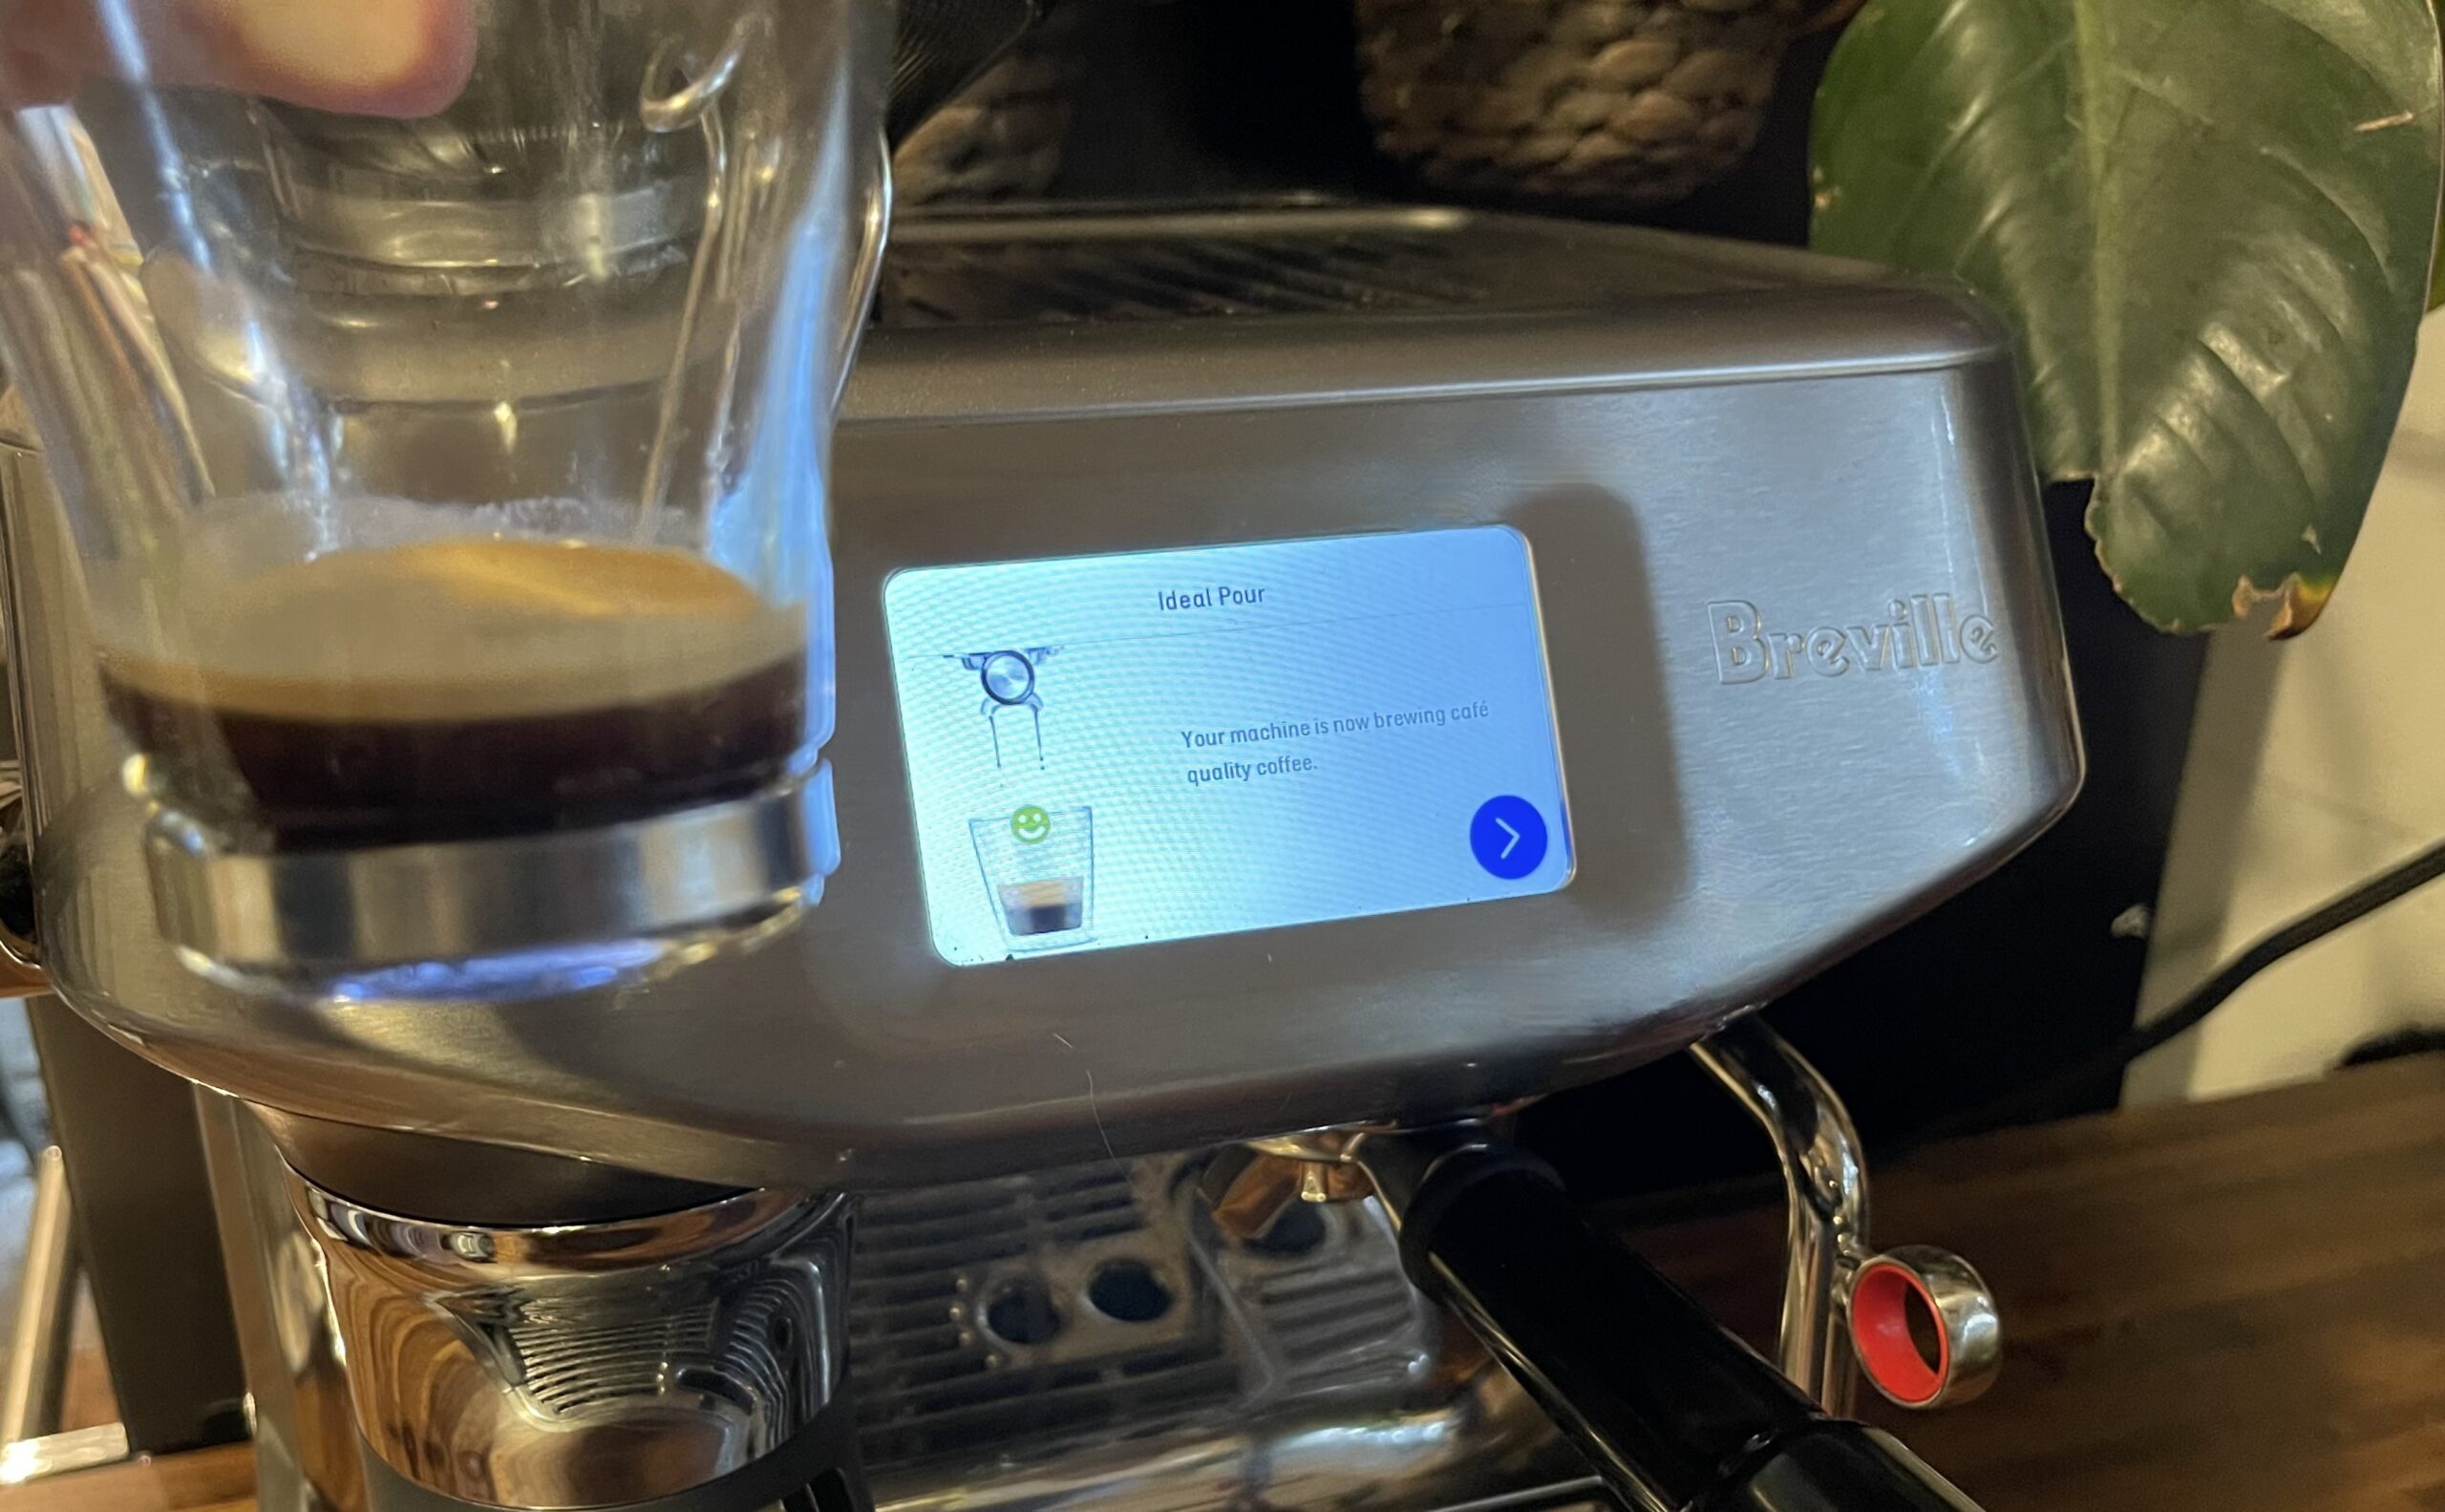
The Breville Barista Touch Impress will dispense the perfect amount of espresso-based on the filter used and your preference. If you find your espresso is too watery and you think the machine is extracting for too long, you can manually turn the shot off on the touchscreen. There will be a timer running while it is extracting, and I always turn it off right at the 29-second or 30-second mark, even when pulling a double shot.
30 seconds seems to be the best time for the way I like my espresso to taste. Having a countdown timer on the touchscreen is a great feature because it lets you experiment with extraction. You can see whether turning it off at 25 seconds, 30 seconds or letting it run an additional 5 seconds makes a difference to you in terms of flavour.
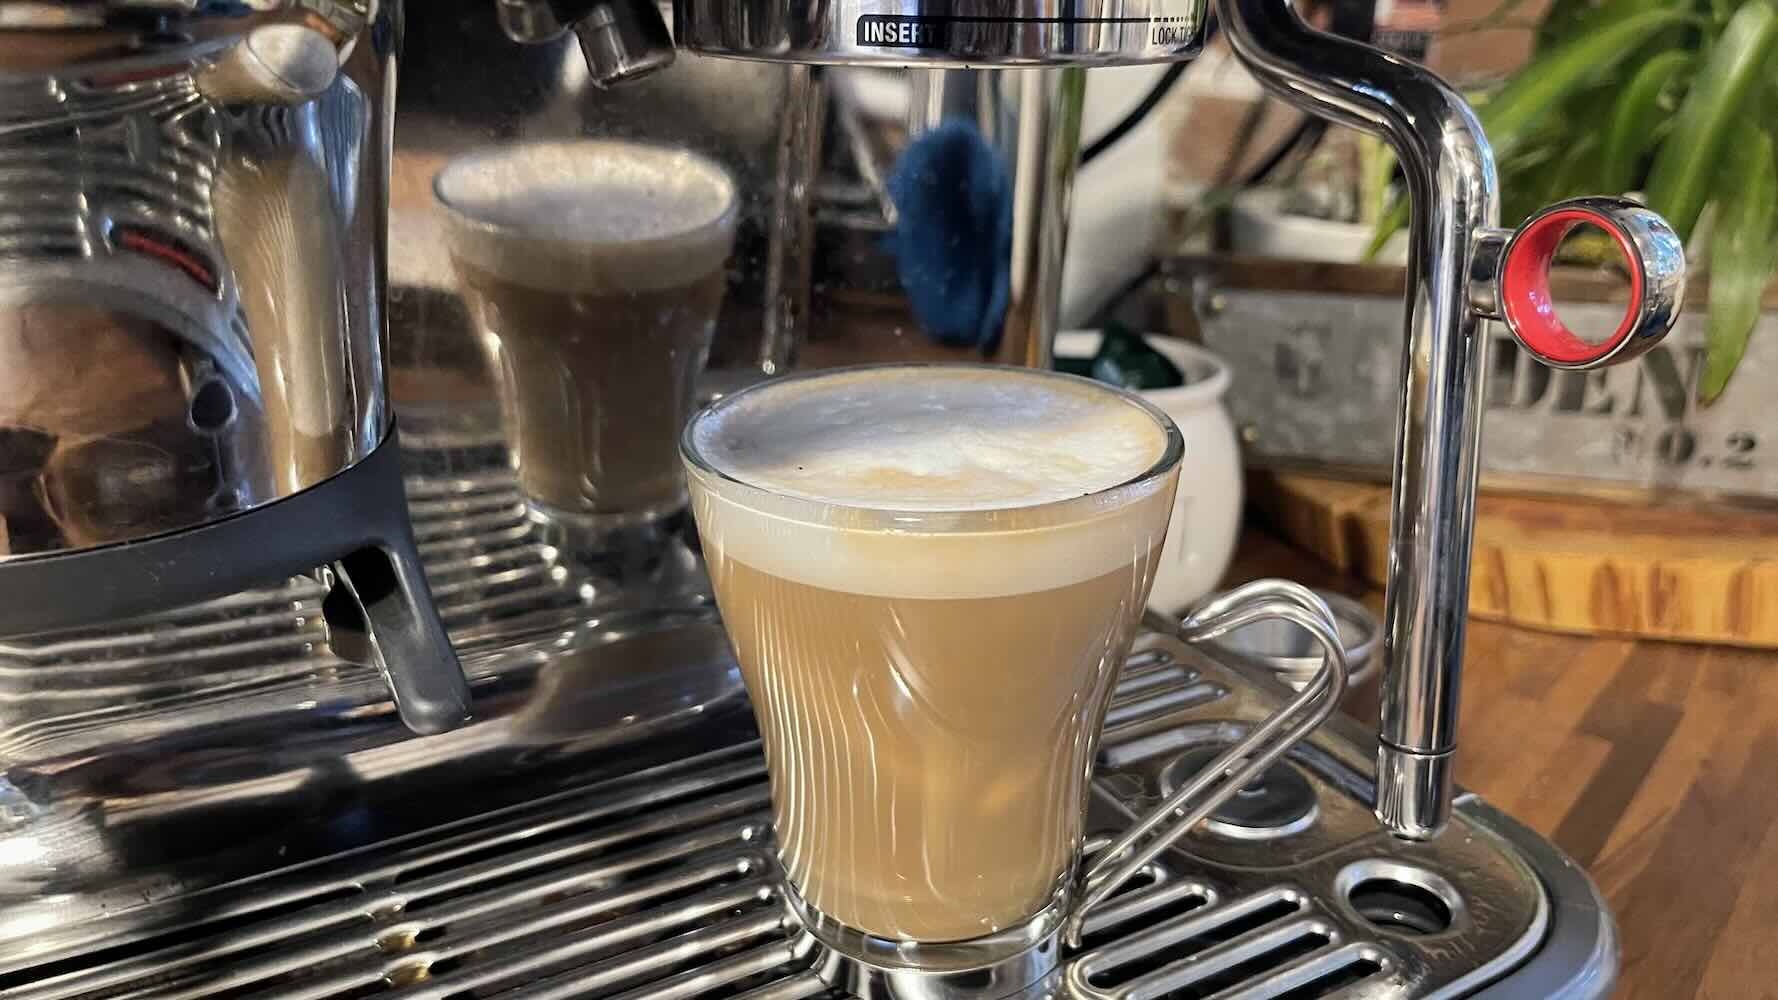
4. Frothing milk automatically or manually
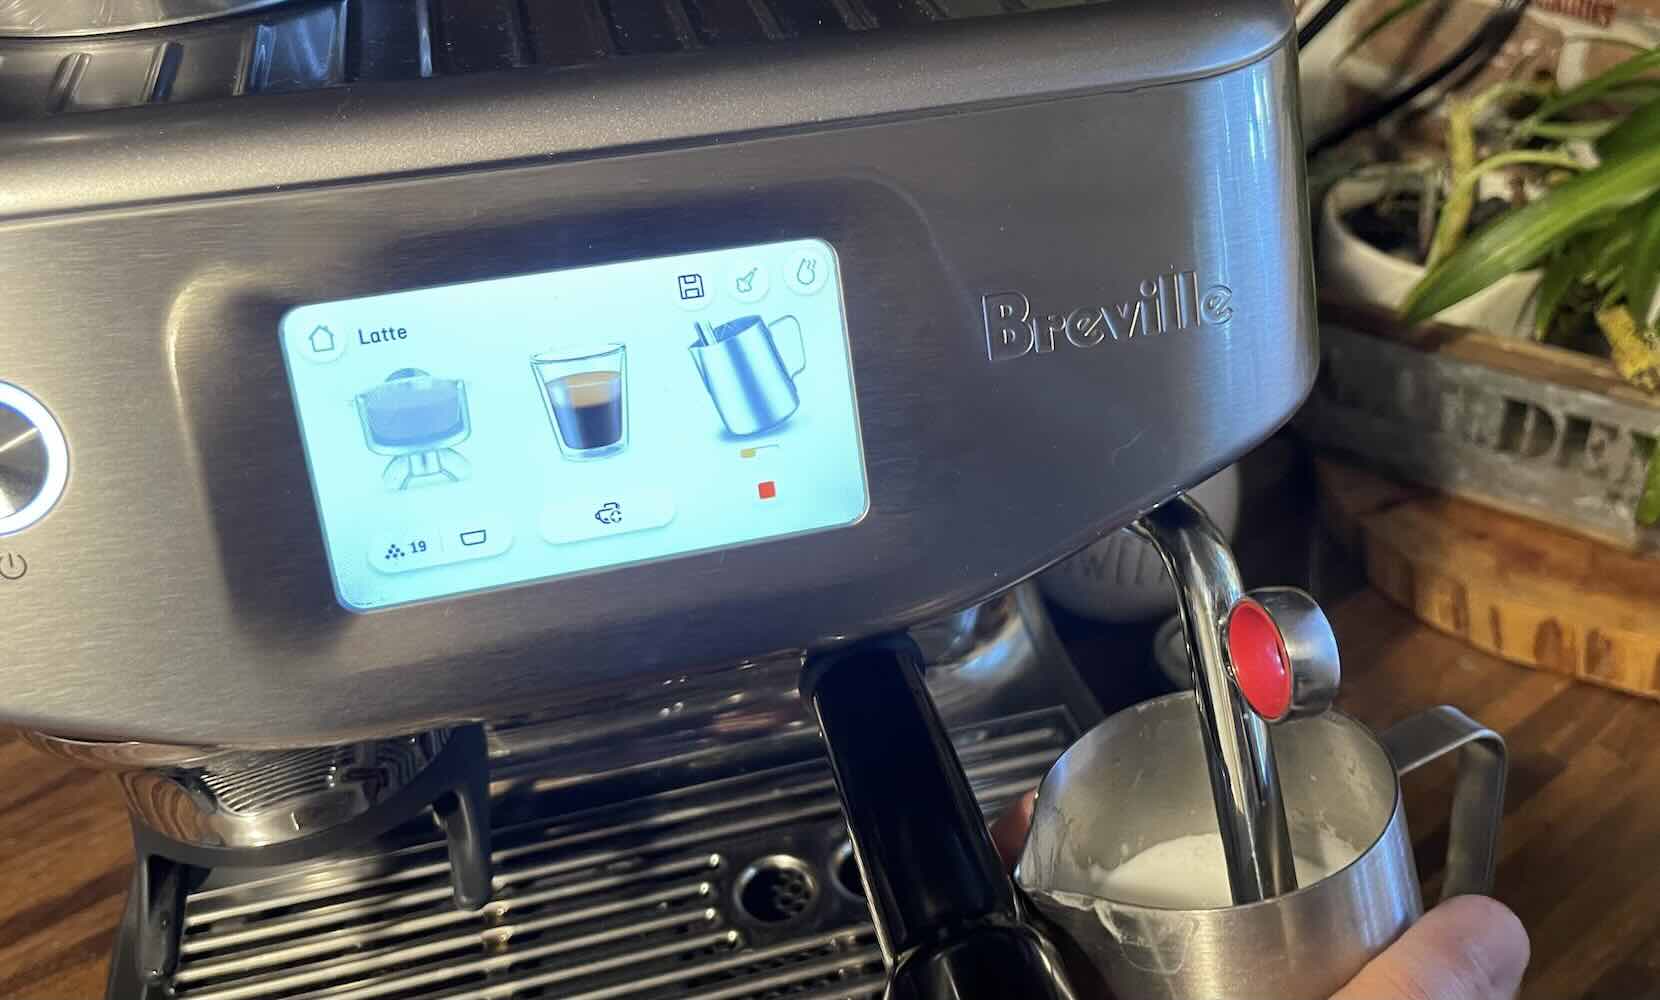
If you like extra hot espresso you may also like extra hot steamed milk. You can adjust the milk settings to customize how hot it is, and how much froth you’ll have, and adjust it for different types of milk. You can set the milk to the maximum temperature and the machine will show you a readout on the screen as the temperature changes. I found if I wanted the milk to be really hot I would let the frother do its job automatically until it reached maximum temps, but then I would turn it on manually and let it continue to froth for another minute or two. This seemed to help the machine achieve a slightly higher temperature beyond the range of 10°F to 170°F (approximately 43°C to 77°C).
As a side note, one of the features I really like on the Breville Barista Touch Impress is how the machine will automatically flush the milk wand. This prevents any buildup inside the wand. For easy cleanup, it shoots the hot water straight into the base of the machine.
How will you use the Breville Barista Touch Impress?
I’ve only used the Breville Barista Touch Impress for a month and I’ve managed to find quite a few ways to customize the machine. Before using it I doubted my espresso-making skills, but I’ve found it’s easy to really get into coffee as a hobby when you have a touchscreen that lets you select your favourite beverage and walks you through every step. Once you feel more confident you can be your own barista by customizing different settings, switching up your bean grind, or making your milk extra hot.
If you’re looking for an espresso machine that can easily make great espresso but still gives you the freedom to learn and experiment, I can’t recommend the Breville Barista Touch Impress enough. You can find the Breville Barista Touch Impress right now at Best Buy.